Tracking Inventory at Locations
Learn how to associate products with locations and manage quantities.
When you create a new product, it is not tracked at any locations by default. You need to add the product to one or more locations in order to begin tracking inventory.
Note:
Only users with the Editor role or above can associate a product with a location.
Tracking a product can be done from either the website or the mobile app.
Track a Product at a Location (Web)
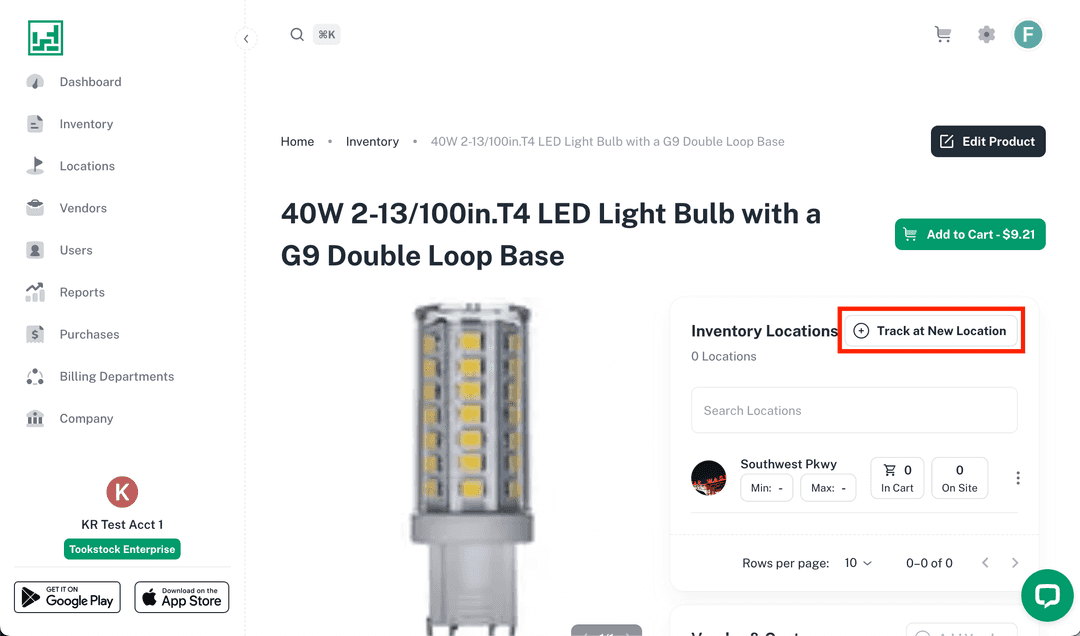
- Navigate to the Inventory tab and select the product you want to track.
- From the Product Details screen, click Track at New Location in the Inventory Locations section.
- Find the location(s) where you want to track the product, and add each one.
- Press Done when you’ve finished adding all desired locations.
- The selected locations will now appear in the Inventory Locations section.
- Optionally, add:
- Min/Max quantities
- Current on-site quantity
- When any quantity changes are made, a note will display the last update timestamp.
- Select View All Updates to see the full history of changes.
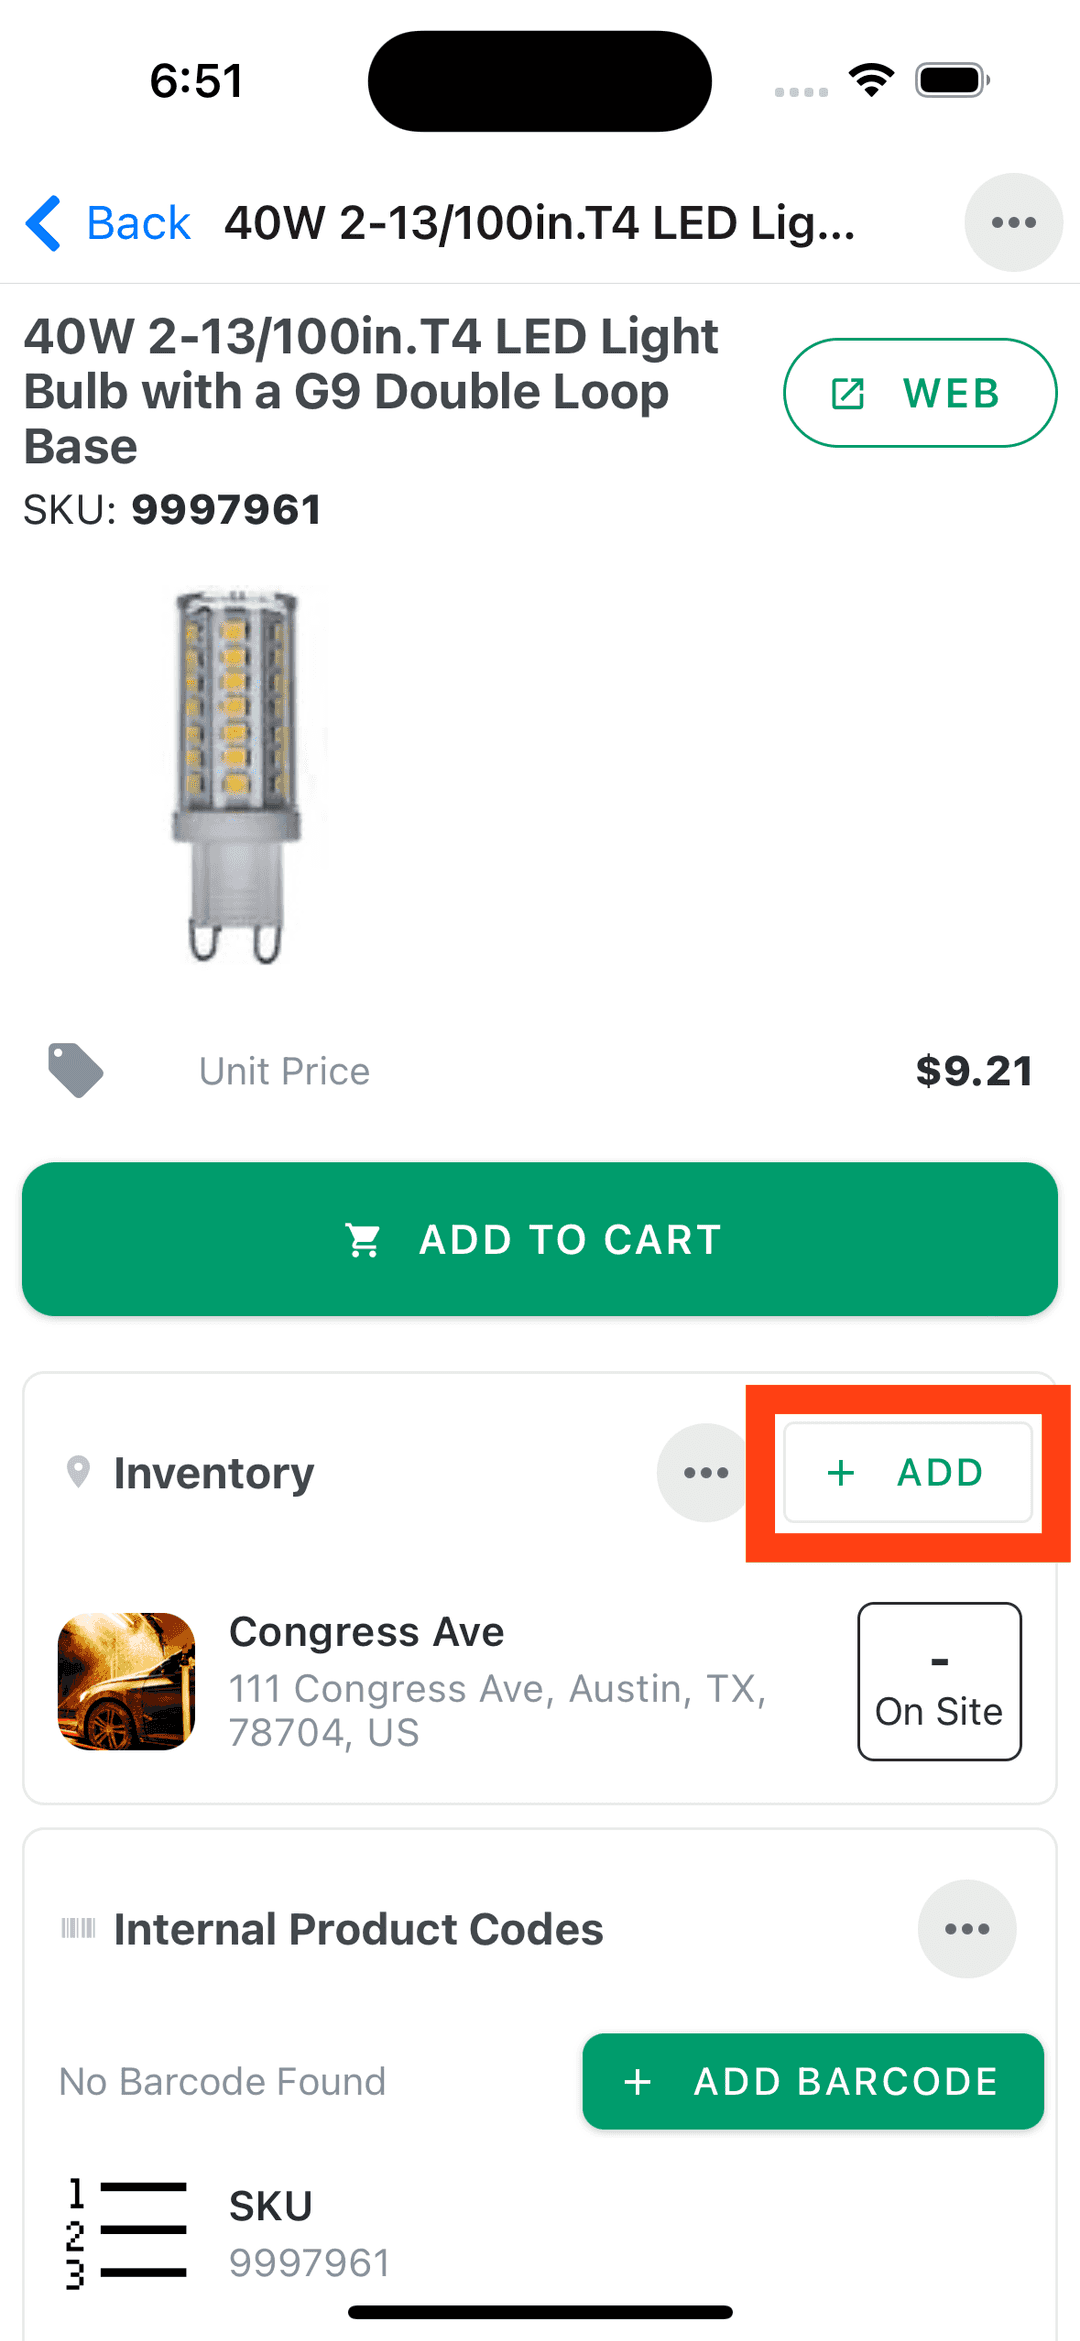
Track a Product at a Location (Mobile)
- Navigate to the Inventory tab and select the product you want to track.
- If the product is not yet associated with any locations, tap Add to Inventory.
- If it already has one or more locations, tap the Add button at the top of the Inventory section.
- Select the location where you want to track the product.
- The location will now appear in the Inventory section.
- Optionally, add min/max quantities and a current on-site quantity.