Scanning Barcodes
Quickly look up products and adjust inventory using barcode scanning.
Barcodes can be scanned from either the website or mobile app.
Scanning from the Mobile App
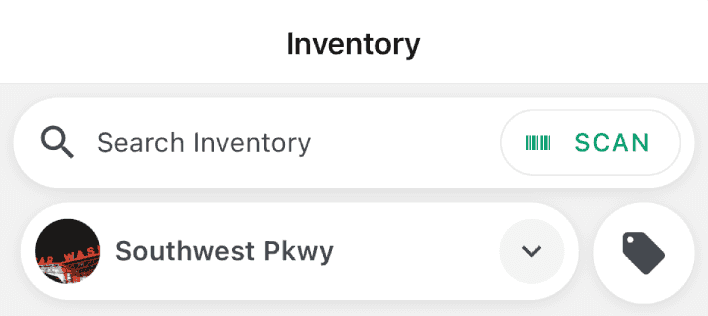
- Navigate to the Inventory tab and press the Scan button in the search bar.
- A scanning screen will appear.
- If this is your first time, the app will ask for camera permission. Allow to continue.
- Once the camera feed appears, hold your device up to a barcode label.
- The app will automatically detect the barcode.
- If the barcode matches a product, the app will bring up that product.
- The app will alert you if no match could be found.
- If a location has not been selected, you’ll be prompted to select one.
- Once a location is selected, you can:
- Adjust inventory quantities
- Add the product to the cart (if it has a vendor and cost)
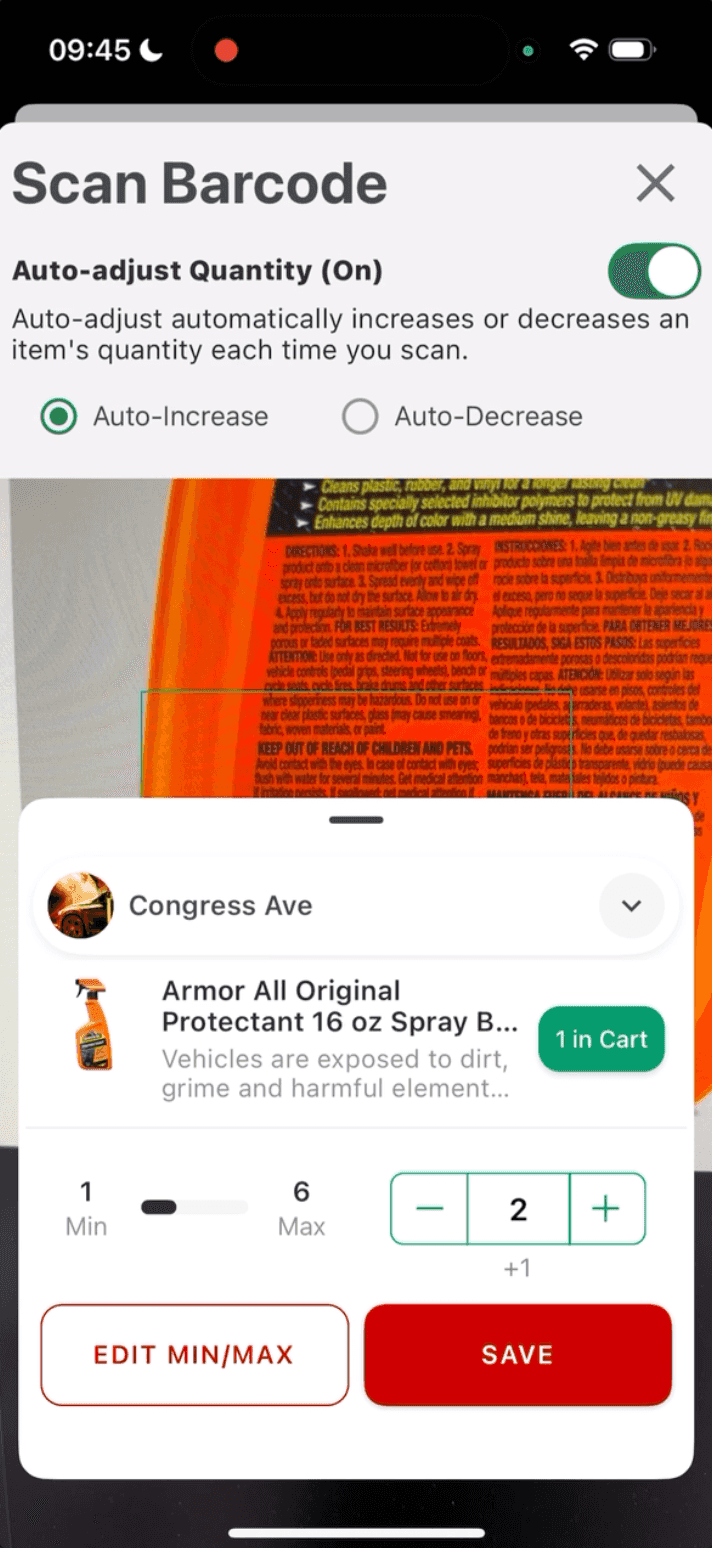
Auto-Adjusting Quantities
To simplify counting, you can enable Auto-Adjust Quantity:
- Toggle Auto-Adjust Quantity at the top of the screen.
- Choose between:
- Auto-Increase (add one each time the barcode is scanned)
- Auto-Decrease (subtract one each time the barcode is scanned)
- Each scan will change the quantity automatically.
- An indicator below the quantity field shows the change from the original value.
- When finished counting, press Save to finalize.
- Quantities are not saved until you press Save.
Note:
You can disable Auto-Adjust Quantity at any time by toggling the switch off.
Scanning from the Website
- Connect a Bluetooth or USB barcode scanner to your computer.
- Make sure your browser window is active and in the foreground.
- Scan a barcode from anywhere on the website.
- If a match is found, the product details will open.
- If no match is found, you’ll have the option to create a new product.
Note:
When scanning on the website, ensure a text field is not selected.
Otherwise, the code will be typed into the field instead of performing a search.